Adding a New Podcast to the Portal
This tutorial will demonstrate how to add a new podcast to the portal for an existing client or company.
Updated 2 months ago
This tutorial will demonstrate how to add a new podcast to the portal for an existing client or company.
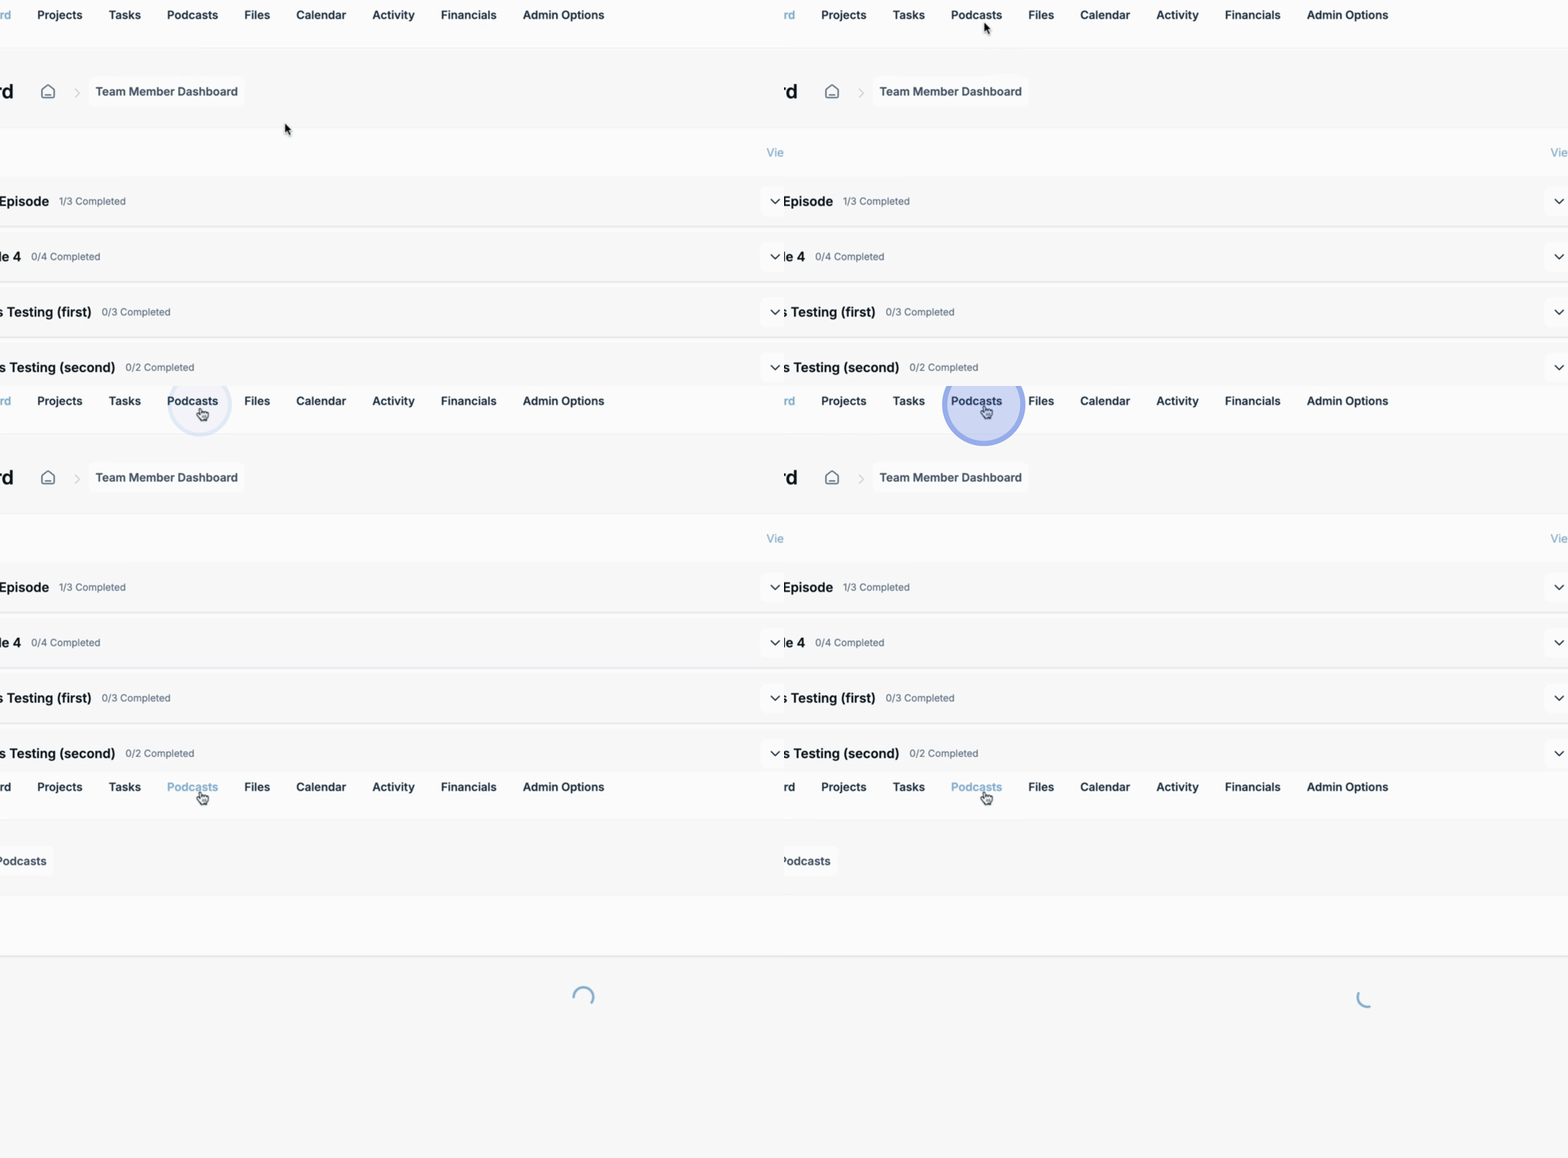
Begin by navigating to the top navigation bar and clicking on Podcasts.
Then, proceed to the right-hand side of the page and click on Add New Podcast.

Drag the artwork provided by the client into the Upload Podcast Image area.
Next, give the podcast a Name.

For the Company, select the appropriate client from the list of existing companies.

Next, choose the Publishing Frequency.

The Publishing Notes section allows you to enter additional information, such as their username and password or other notes.

Now, select the Client. The system will have already detected the company's associated contacts.

Next, add relevant Tags to represent the services selected. For example, Pro Audio Editing, Show Notes, and Image Pack. All remaining fields are optional.

Once all necessary information is filled out, click on Save. You should see a confirmation that your podcast has been created successfully.

To check, navigate back to the Company, where you will see two podcasts associated with their account.

Finally, navigate to the CRM and choose the Team Member section. Select the team members to be added to the podcast, and add the podcast to the Associated Podcasts section for each team member.

By following these steps, you will have successfully added a new podcast and associated team members to it.
